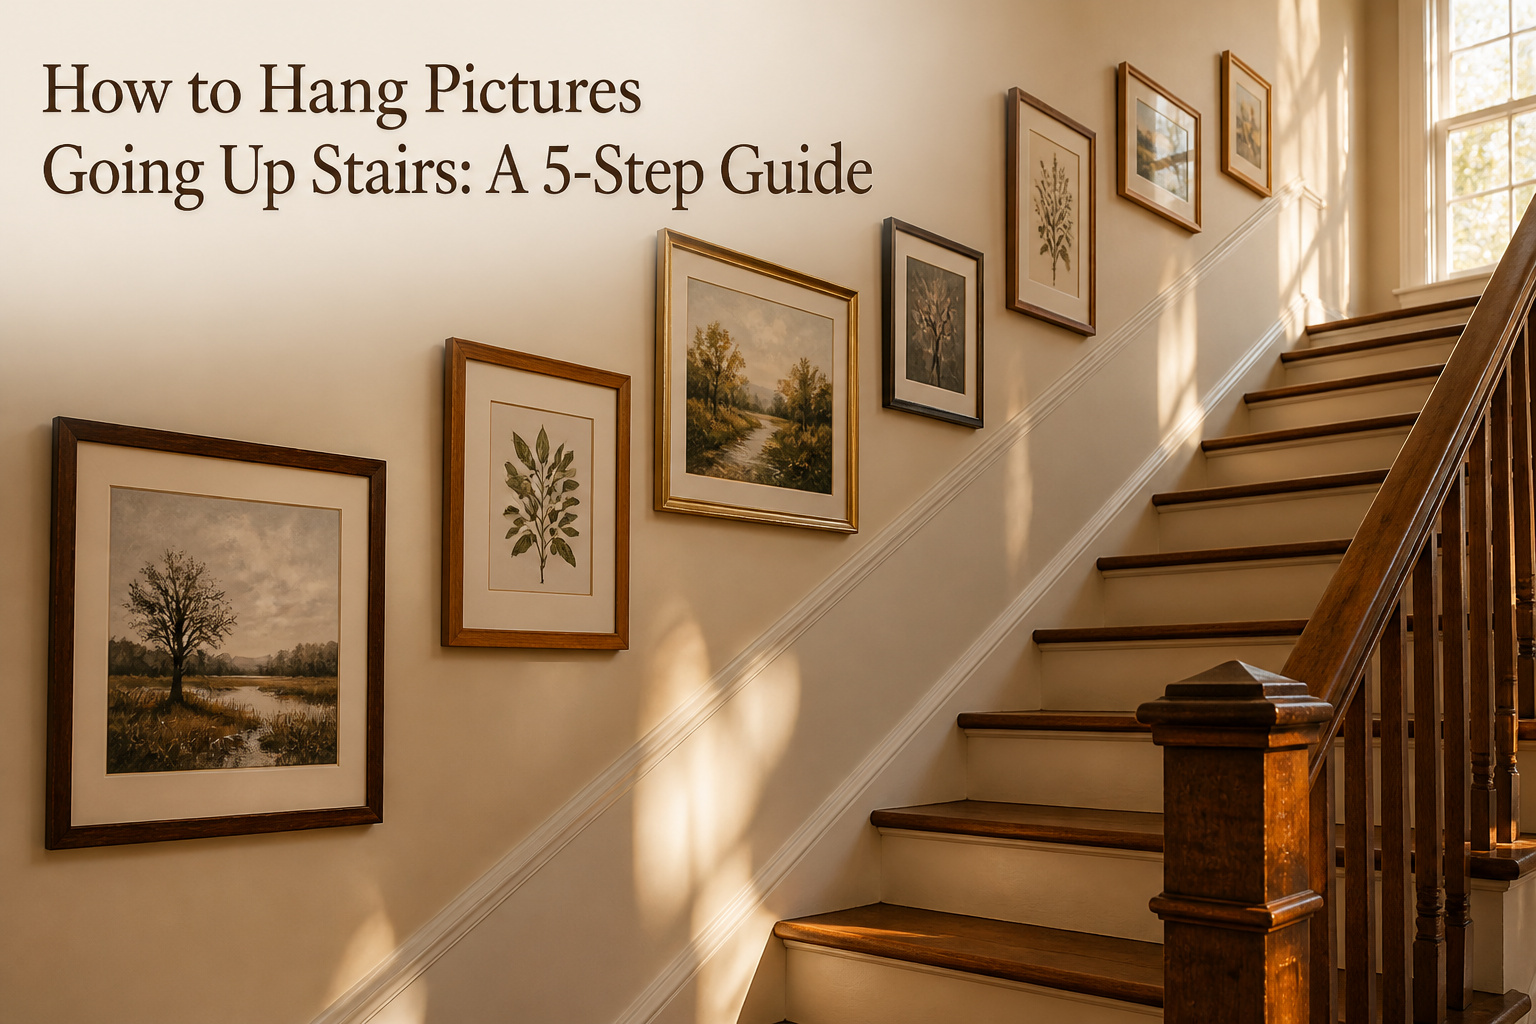
A staircase gallery takes an afternoon, a roll of kraft paper, and the patience to measure twice. Most people skip the template stage and drill straight into the wall, then wonder why the cluster drifts toward the banister from below. The angle of the stairs changes what reads as centered from every step, which is why 57 to 60 inches up from each tread, not a single level line, is the height that actually lands at eye level.
1. Choose Your Art and Frames

Picking a theme before you buy a single frame saves the headache of a wall that looks like a yard sale. Start with what you actually like: black-and-white family photos, abstract prints, a color pulled from your sofa, or even a lyric that sticks in your head. The first gallery wall I planned fell apart because I grabbed three "maybe" prints on sale and none of them talked to each other.
Frames 11×14 inches or larger should anchor the arrangement, especially on a stairway where smaller pieces read as clutter from below. I used to fill walls with 8×10s and wondered why the result felt busy and cheap. Now I think of those big frames as anchors and fill gaps with 5×7 or 8×10 accents. Mixing sizes keeps the eye moving, but the large pieces give the whole thing weight.
For a casual look, vary frame styles and colors; for something tighter, keep the sizes and finishes uniform. Either way, repeat one element, a wood tone, a mat width, a single accent color, so the wall reads as intentional rather than accidental.
Recommended Products

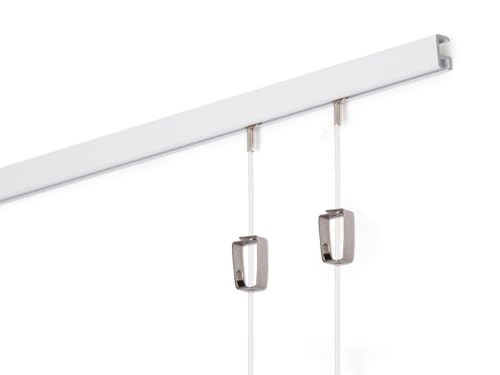
STAS clear cords can be hooked in at any point of the rail

Professional museum-quality art hanging system for your art gallery, home or business
2. Measure the Wall

A staircase wall is rarely one flat plane, so the tape measure needs to run from the base of the lowest riser to the top of the highest one you plan to use. That total length tells you how many frames actually fit before the gallery starts looking squeezed. Width matters too, but on a stair wall the usable height is the number that catches people off guard.
I keep a pencil behind my ear for this part because the numbers change as I move. I mark the wall at roughly 60 inches up from each step, or every second or third step if the staircase is long, and step back to see whether that line stays level or starts fighting the angle of the banister. Those pencil dots become the backbone of the layout later.
A stud finder earns its place here, not during hanging. Running it now, before there is paper or tape on the wall, lets me mark the solid backing in light pencil where I will actually need it. Drywall anchors work, but a stud is the surer bet for anything heavier than a small frame, and knowing where they live changes how I space the art. I write the stud locations directly on the wall, small enough to paint over later, large enough that I do not forget once the kraft-paper templates go up.
Recommended Products

▁▃▅▇【Reusable Material】These stair tools are engineered from impact and chemical resistant iron Material, which are very durable and reusable. Very easy to adjust the angle and length to match any job requirement.
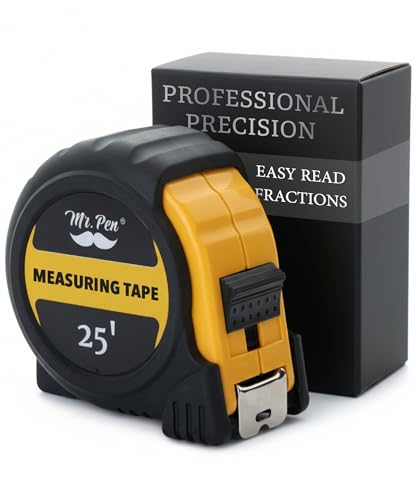
Mr. Pen tape measure is an essential tool for anyone from homeowners and interior designers to professional handypersons, carpenters, metal or woodworkers, and architects.
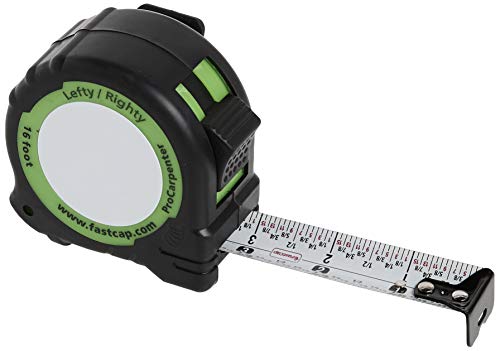
Dual Reading Capability: The Standard/Standard Reverse features standard measurements that are readable when the tape is extended from either the right or left hand
3. Plan Your Layout

Painter’s tape and kraft paper templates save walls from unnecessary holes, which matters more on a staircase than almost anywhere else because the angle makes every placement a guess. Trace each frame onto recycled paper, cut the shapes out, and stick them to the wall with removable tape. The 2 to 3 inch spacing between pieces is the range that keeps a staircase gallery from looking crowded or scattered, and the templates let you test that spacing without commitment. Follow the angle of the stairs, not a straight horizontal line; the bottom edge of each frame should parallel the slope of the railing or the stair nosings below it. Start from a visual midpoint and work outward so the cluster grows evenly rather than drifting up or down the wall. One layout trick that helped me decide: leave the templates up for a full day and walk past them at different hours. Morning light from a hallway window can make a centered piece look off by afternoon, and paper is cheaper to reposition than patched drywall.
Recommended Products

CLASSIC & DURABLE: With sturdy frame, high definition cover, safe packing, upsimples picture frame will protect your photo and give a clear view.

MULTIPLE FRAMES COLLAGE: Bulk of 5 pieces picture frames set in the same sizes. Perfect for pictures 8x10 with mat or 11x14 without mat. The frame opening display size will be 0.5 in smaller than the photo to hold the photo in place
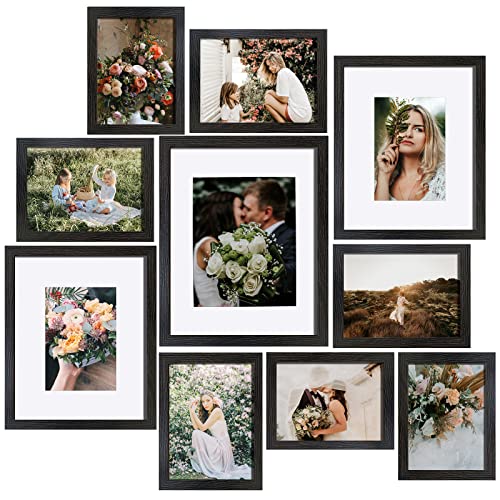
Multi-size: 10pcs picture frames set in the same color and come with ONE 11x14in frame with mat for 8x10 photo, TWO frames 8x10in with mat for 5x7 photo, FOUR frames 5x7in, THERE frames 4x6in.
4. Hang Your Pictures

Wall space along a staircase tilts with the rail, so a level held flat to the wall will lie to you. Run painter’s tape or a laser line parallel to the handrail instead, and mark your centerline 57 to 60 inches up from each tread as it rises. That height lands the center of your gallery at eye level for most people walking the stairs.
Starting at the visual midpoint keeps the whole arrangement from drifting. Work outward from there, keeping two to three inches between frames. Nails handle heavier pieces fine, though Command strips save your drywall if you are renting or just hate patching later. A frame with only one hook on the back will twist without help; a strip at each corner keeps it straight. Museum wax in the bottom corners adds grip on high-traffic stairs where kids or dogs might bump something loose. It dries clear, scrapes off clean, and costs next to nothing. Check the wall from both the bottom step and the top landing before you finish; the angle changes what reads as level, and the view you want is the one people actually see.
Recommended Products

TIPS: 1. Calibration is necessary before using the stud finder function. 2. Laser level is manual-leveling, not self-leveling, please use the two bubble vials for accurate horizontal, vertical and cross lines. 3. Two bubble vials only work and light up when the Laser Mode is active, not in the detection mode. 4. Self-adhesive strips are not suitable for dusty, coarse surfaces, wallpaper, or drywalls, etc. Replace the strips if they are dirty or not sticky. 5. Class II laser safety product, output < 1mW. 6. Note: NOT designed for use on LATH and PLASTER WALLS. Works best on DRYWALL and WOOD WALLS
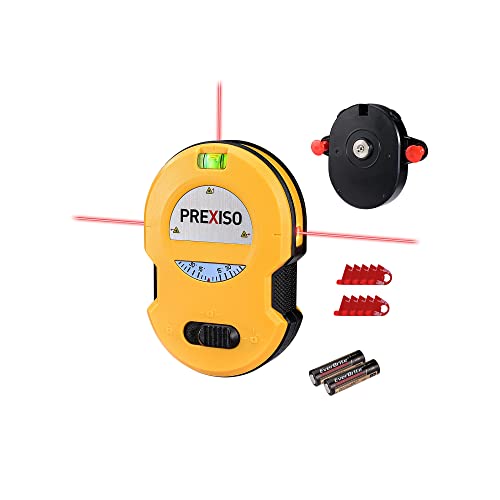
NOTE: This product is not a stud finder or a magnetic nail finder

EASY TO USE: The StudBuddy is the world's simplest magnetic stud finder tool. The StudBuddy works with all drywall construction by using powerful magnets to locate the screws in the studs.
5. Adjust as Necessary

Step back to the bottom landing, pause halfway up, then check again from the top tread before you drive a single nail. The same arrangement reads differently from each angle, and a frame that looks centered from below can drift awkwardly close to the handrail when you descend. Conor and I spent ten minutes shifting a small square print left until it filled the dead space beside a larger piece; that slight imperfection kept the wall from looking staged. Museum wax is worth keeping on hand for the final pass. A dab behind the lower corners grips frames to the wall without shifting in the vibration of daily traffic, especially on stairs where kids brush past or you haul laundry with a shoulder. Press it in, step back one last time, and the composition stays put.
Recommended Products

PICUTURE FRAMING TAPE - Premium kraft paper made, adhere well to the frame and backing, oxidation and temperature resistance, serve longer time and retain stickness after applying. Available to overlap on frame without annoying mitre cutting.

PICUTURE FRAMING TAPE - Premium kraft paper made, adhere well to the frame and backing, oxidation and temperature resistance, serve longer time and retain stickness after applying. Available to overlap on frame without annoying mitre cutting.

【Masking Tape & Paper 2 in 1】Our pre-taped masking paper combines premium kraft paper with professional painters tape along one edge — cover and secure in one single action. No need to separately apply tape and paper, cutting your prep time by up to 50% for any painting project.
Tools and Materials

Kraft paper or wrapping paper saves the wall from extra holes. Trace each frame, cut the templates, and tape them up with painter’s tape to test the layout before anything permanent goes in.
Here is what to have on hand:
- Kraft paper, wrapping paper, or butcher paper for the templates
- Painter’s tape for holding paper to the wall and for marking stud locations
- A tape measure and pencil
- A level, or a laser level if you already own one
- A stud finder
- Nails in assorted sizes, or Command strips if you are renting and want to avoid holes
- A drill or driver for anything that needs anchoring
- Museum wax to keep frames from shifting on angled stair walls
- Felt bumpers if you want to protect the wall surface
A multi-position ladder or stair platform is worth borrowing for the angled wall, and a spotter helps more than you would expect. Very heavy pieces may need a French cleat kit with toggle anchors for drywall, but most gallery walls stay light enough that standard hardware does the job.
Recommended Products
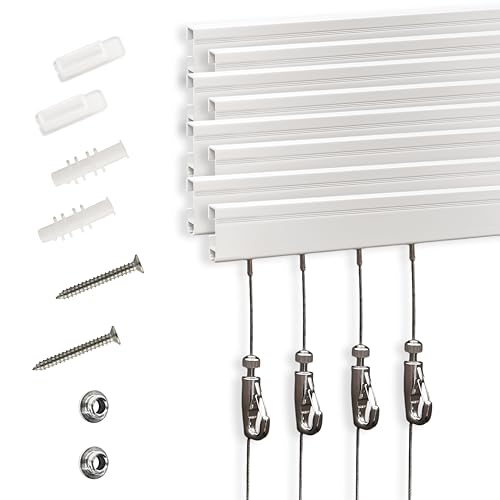
🎨 CHARMING CREATIVE DISPLAY - Transform your space into an inspiring gallery with our rail picture hanging kit system with picture hangers, which is specially designed to help you display your artwork effortlessly, creating a stunning visual impact that enhances any room's aesthetic while allowing for a creative flair!

High quality Ayous wood profile - FSC and PEFC certified: timber from sustainably managed forests. Ayous wood differs from other, cheaper wood since it does not deform nor splinter.
Layout Types Compared

Organic layouts let the eye travel up the stairs the way you actually walk: a little uneven, pausing where something catches you. Symmetrical layouts fight that motion and usually lose on a staircase unless your wall is wide and the stairs are straight rather than turning. I tried both in our last rental; the symmetrical grid looked correct on paper and stiff once it was up, because every step changed the viewing angle.
Cohesive frames keep the focus on the art. Eclectic frames draw attention to the collection itself, which works when the pieces are varied sizes or from different eras and you want that gallery-wall energy. The risk is clutter in a narrow stairwell where you are already close to the wall.
| Layout | Best for | Watch out for |
|---|---|---|
| Organic, cohesive frames | Calm, collected look; easier to add to over time | Can feel too safe if every frame is identical |
| Organic, eclectic frames | Mixing family photos, small prints, found pieces | Needs a unifying element, color or mat width, or it scatters |
| Symmetrical, cohesive frames | Formal entry stairs, wide straight walls | Measurements must survive the angle; a 1-inch gap looks wrong at 45 degrees |
| Symmetrical, eclectic frames | Rarely; takes a large landing, not the stair run itself | Frame edges fight each other unless sizes are planned as a total grid |
For most staircases, organic and cohesive wins. You get movement without chaos, and one frame style carried through three or four sizes covers most walls without a single custom piece.
Recommended Products

Eraseable notepad

20% more compact grip**: For improved ergonomics and control

Compact Casing: Features a space-saving design with heavy-duty protective rubber boot for durability and portability on any job site
Hanging Methods Compared

Nails and adhesive strips each have a place on a staircase wall, but frame weight is the deciding factor. A small 8-by-10 in a thin wood frame stays put on a removable strip. Anything larger, especially once glass enters the picture, needs the bite of a nail or hook into studs or drywall anchors.
The strips win for renters who patch at move-out, though they can fail in humid stairwells or on textured plaster. Nails leave holes, yet they handle the torque of a frame that shifts when doors slam below. Wall bumpers or a dab of blue tack at the corners stops the sway that nails alone allow.
| Method | Best for frame weight | Wall types | Key tradeoff |
|---|---|---|---|
| Adhesive strips | Light frames, no glass | Smooth drywall, painted plaster | No holes, but heat and humidity weaken grip |
| Picture nails | Medium to heavy frames with glass | Drywall, wood, plaster with anchor | Small holes to patch; add bumpers to stop shifting |
For a mixed gallery, the practical move is strips for the small pieces near the top where the wall meets the landing, nails for anything substantial climbing the slope.
Recommended Products

【PREMIUM MATERIAL】: The 11x14 picture frame is crafted with premium Engineered Wood (NOT solid wood), featuring a smooth finish, HD clear shatter-resistant plastic cover, sturdy backing, and pre-mounted hanging hardware for easy installation.

[Custom Display] Two 11x14 inch frames, four 8x10 inch frames, four 5x7 inch picture frames let you create a photo collage of unforgettable memories that enhances various wall decor. Or fill the multi picture frames with special photos as a perfect gift

MULTIPLE FRAMES COLLAGE: Bulk of 5 pieces picture frames set in the same sizes. Perfect for pictures 8x10 with mat or 11x14 without mat. The frame opening display size will be 0.5 in smaller than the photo to hold the photo in place
Frequently Asked Questions
Recommended Products

Works on wallpaper & fabric: depth range of ¾-in through drywall and works on surfaces covered in wallpaper and fabric

Powerful Rare Earth Magnets Find Studs Fast: Strong magnetic technology detects nails and screws behind drywall, plaster, and paneling to help locate wood and metal studs without batteries, calibration, or false readings.

Center-find technology to easily find the center of the stud
What height should pictures be on stairs?
Aim for 57 to 60 inches up from each tread as the stairs rise, which lands the center of your gallery at eye level for most people walking the stairs. Mark that centerline parallel to the handrail, not level with the floor, because a staircase wall tilts with the rail. Check the arrangement from both the bottom step and the top landing before you finish, since the angle changes what reads as centered.
How should I arrange photos on staircase walls?
Use an organic layout that follows the angle of the stairs, with larger frames of 11×14 inches or more anchoring the arrangement and smaller pieces filling gaps. Start from a visual midpoint and work outward so the cluster grows evenly rather than drifting up or down. Repeat one element, a wood tone, mat width, or accent color, so the wall reads as intentional even when sizes and styles vary.
How far apart should the frames be?
Keep frames spaced 2 to 3 inches apart for a cohesive look on a staircase gallery wall. That range keeps the arrangement from reading as crowded or scattered when viewed from below. Larger frames can handle slightly wider gaps, but beyond about 5 inches the wall starts to feel disjointed.
What is the best way to hang pictures on stairs?
Trace each frame onto kraft paper, cut out the shapes, and tape them to the wall with removable tape to test the layout before driving any nails. Follow the stair pitch, not a flat horizontal line, with the bottom edge of each frame paralleling the slope of the railing or stair nosings. Leave the templates up for a full day and walk past them at different hours to catch how shifting light changes the look.