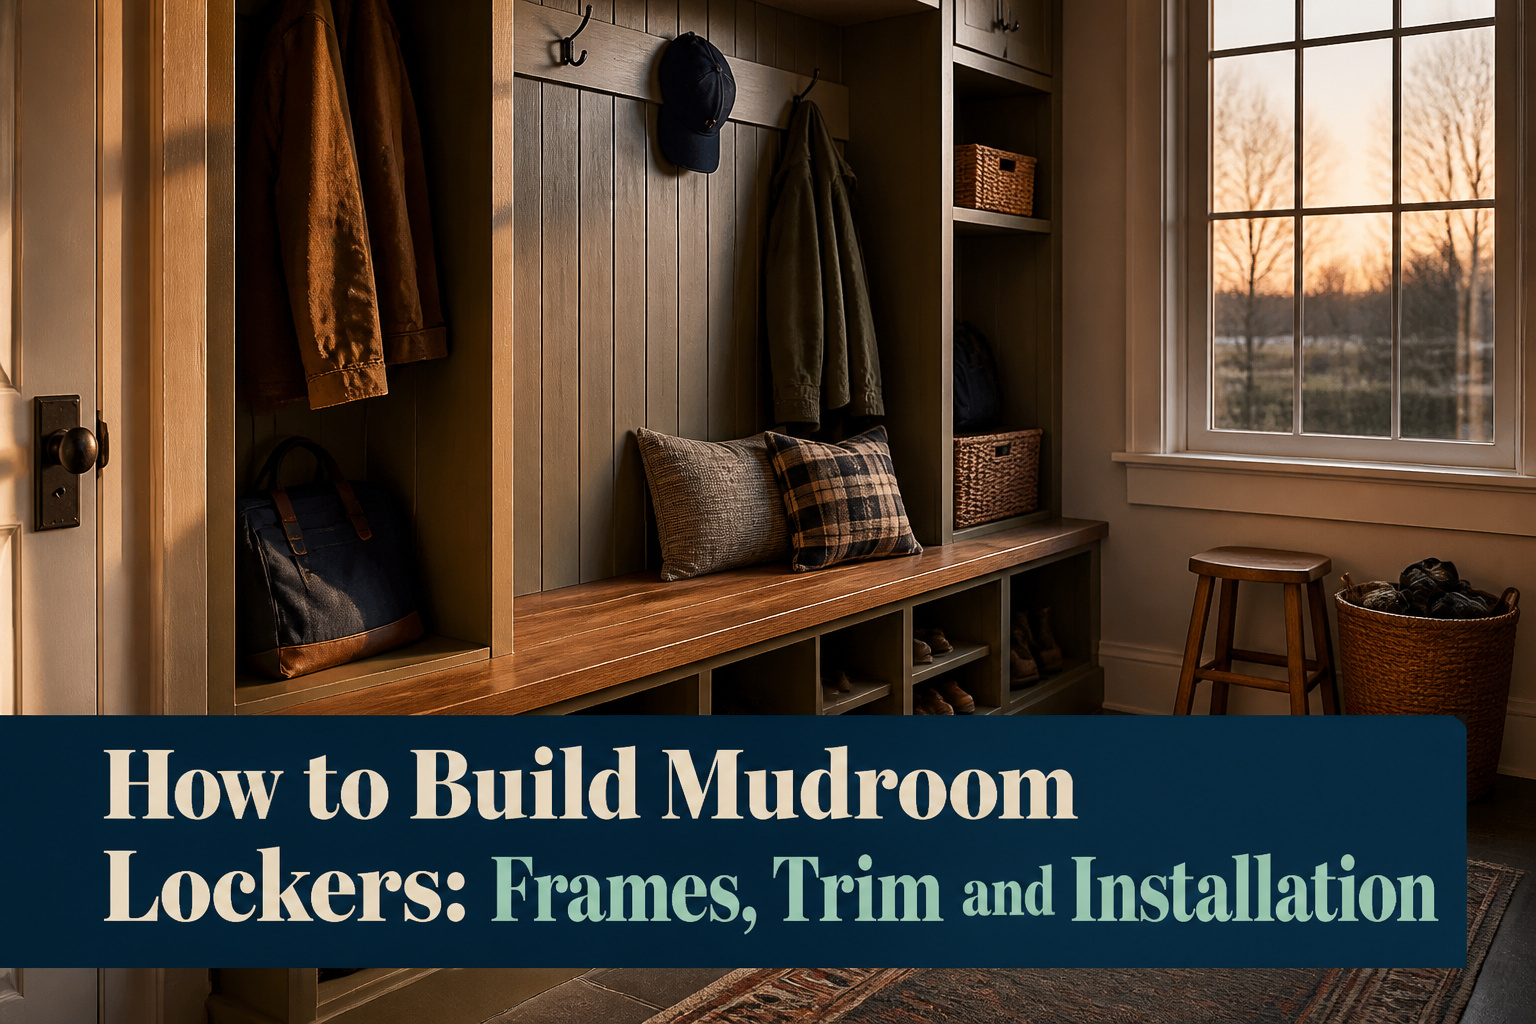
Mudroom lockers are built-in storage units that frame a bench, hang coats, and corral shoes before they reach your living space. The catch is that they have to survive real families, real weather, and walls that were never square to begin with. A 22.5-inch depth reaches the limit of what an arm can grab past a winter coat; go deeper and you are fishing in dim space you cannot see into. I learned that after three tape measurements across a back wall that kept coming back 16.75 inches wide, a fuse box that killed my first layout, and a clearance rule that cost me two lockers before a single board was cut.
Design and Planning

A mudroom locker that actually functions starts with honest measurements, not the ones you wish you had. I pulled a tape across our back wall three times before I believed the number, because 16.75 inches wide, 22.5 inches deep, and 71 inches tall was the workable unit once I accounted for the wall’s quirks. That 71-inch height swallows a full coat with room to spare; the 22.5-inch depth reaches the limit of what an arm can grab without climbing inside.
The fuse box stopped my first layout cold. Code wants 30 inches of clearance around electrical boxes, which meant shifting the whole bank left and losing one locker. A family of five needs six compartments, not four, so I split the run into two heights and doubled the count. Return vents, uneven studs, and that short wall someone framed decades ago all get sketched in before a single board gets cut. Birch melamine on clearance saved $300 but forced individual construction, sandwiching the finished faces between units instead of sharing walls. Same plywood on both sides would have bought another 1.5 inches per locker. The tradeoff was real money against real width, and a sketch makes that choice visible before sawdust flies.
Recommended Products

5-SECTION SCHOOL COAT LOCKER: Features upper and lower cubby storage for shoes, lunchboxes, and other classroom items along with tall, spacious middle cubbies with convenient hooks for an easy way to hang backpacks and jackets
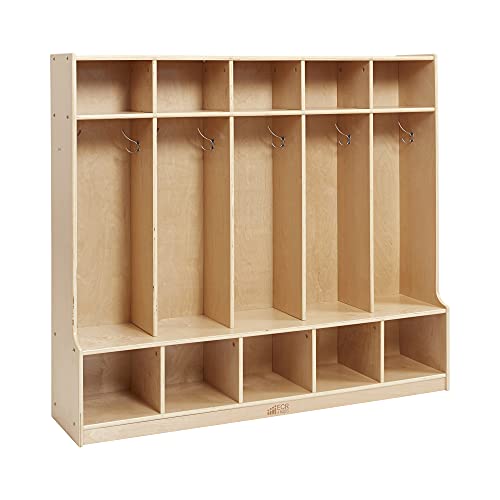
Spacious Storage: Versatile shelving unit with five open storage areas, ten double coat hooks, and ten cubbies for jackets, lunchboxes, and school supplies in a playroom, mudroom, or classroom.

【Charming Farmhouse Hall Tree with Vintage Hooks】Elevate your entryway with this farmhouse hall tree that exudes rustic charm. Adorned with dainty vintage black hooks and a classic wood-tone seat, it creates a cozy and welcoming first impression. Its timeless design, featuring a thoughtfully curved base, seamlessly complements any home décor style, making it a beautiful and functional focal point in your mudroom or hallway.
Materials and What They Cost
Three materials dominate mudroom locker builds, and the choice comes down to what happens after the sawdust settles. 3/4-inch plywood is the standard for construction: it carries weight without flexing, shrugs off the dings of daily use, and survives the moisture that comes with wet boots and dripping coats. Cabinet-grade oak plywood ran the builds I studied, with oak trim to match.
MDF costs about half what cabinet-grade plywood does and delivers the smoothest painted surface you can get without filling grain. The catch is water. In a mudroom, MDF swells and puckers where plywood would dry out and keep its shape. One builder chose it anyway, planning to paint everything Dark Auburn and skip staining entirely. That trade works if your entry stays dry; it fails if kids dump snow gear inside.
Melamine lands at the lowest price point and adds wear resistance on its finished face. One builder found 3/4-inch birch/melamine on clearance and saved roughly $300, though the single-sided finish forced a more complex build, sandwiching melamine between lockers instead of using the same face outward. Two-sided material would have added about 1 1/2 inches of usable width per locker.
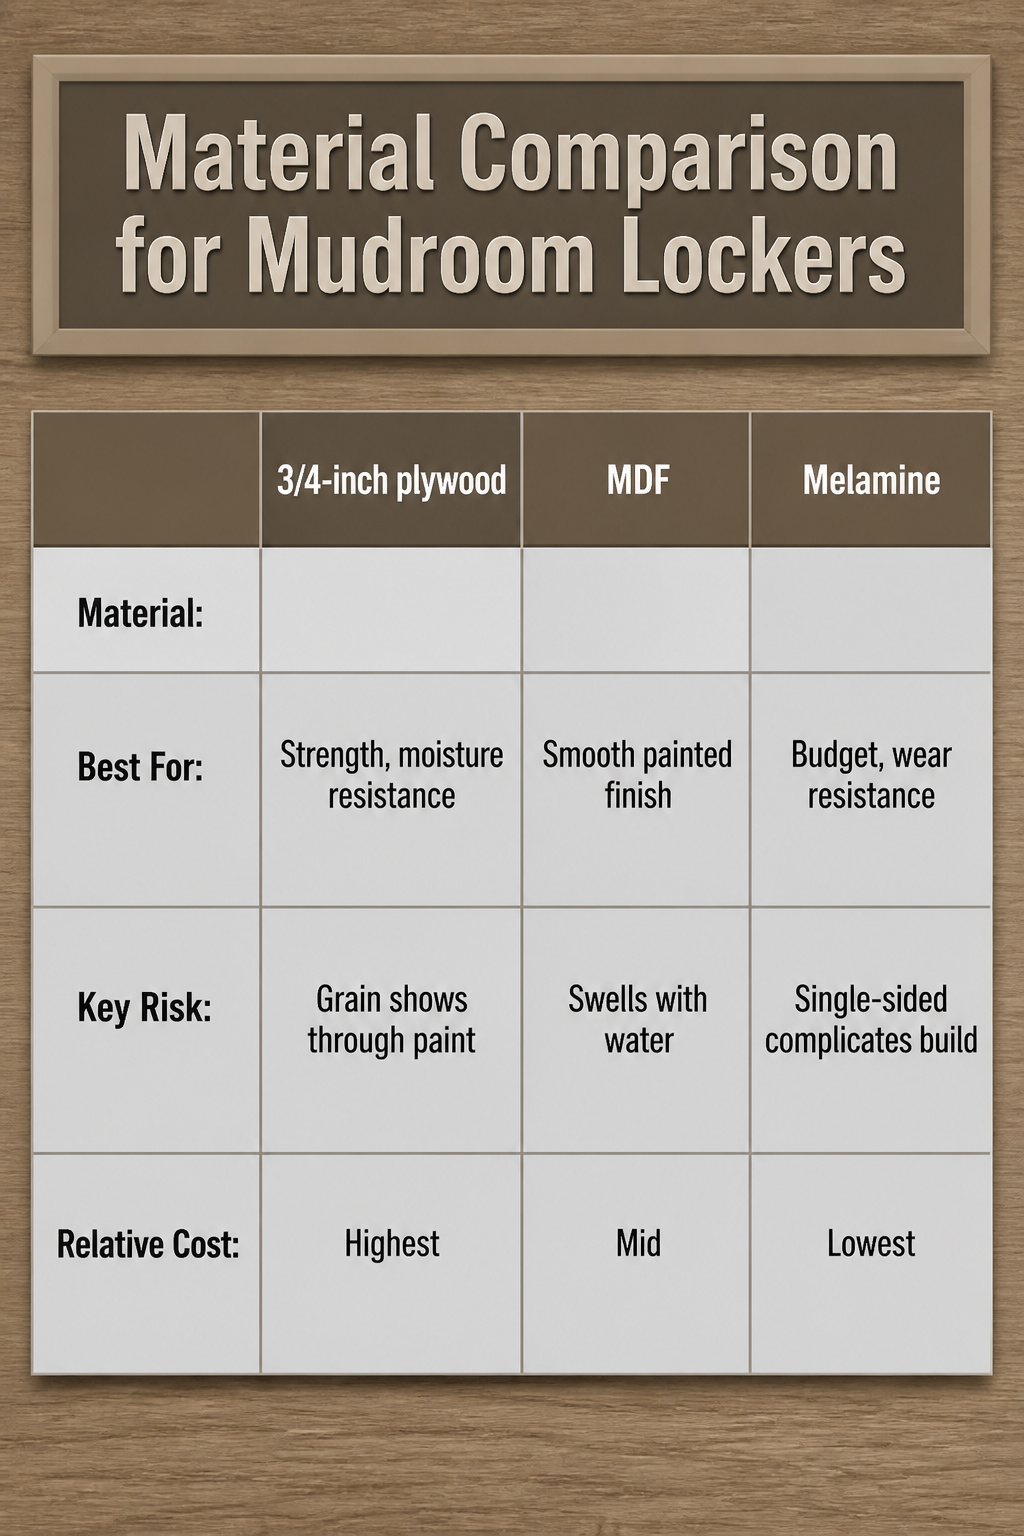
| Material | Best For | Key Risk | Relative Cost |
|---|---|---|---|
| 3/4-inch plywood | Strength, moisture resistance | Grain shows through paint | Highest |
| MDF | Smooth painted finish | Swells with water | Mid |
| Melamine | Budget, wear resistance | Single-sided complicates build | Lowest |
Plywood wins for a family entry that sees weather. MDF makes sense only with a strict paint plan and dry habits. Melamine rewards the patient shopper who can find two-sided stock.
Recommended Products
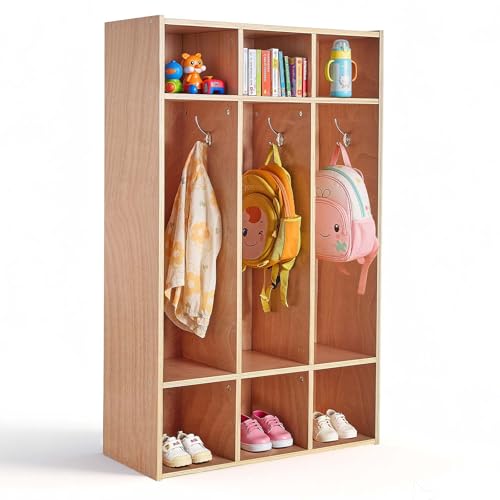
Multifunctional Storage: Features 3 coat check areas and 6 hooks for coats, shirts, and backpacks, plus 3 bottom storage cubbies for shoes and 3 top storage cubbies for hats, lunch boxes, and school supplies, this coat locker keeps space tidy and organized

【Metal Wall Hooks Strong & Sturdy】Keep everything organized & within reach! The heavy duty double prong metal hooks are made of good quality zinc die cast material, the screws are made of iron, it can easily hold up to 40 lbs of weight, very strong sturdy and beautiful, hooks easy storage and long-term use, meet your storage needs.

Multifunctional Storage: Features 2 coat check areas and 4 hooks for coats, shirts, and backpacks, plus 2 bottom storage cubbies for shoes and 2 top storage cubbies for hats, lunch boxes, and school supplies, this coat locker keeps space tidy and organized
Cutting Wood to Size

A track saw is the tool that makes breaking down full sheets of 3/4-inch plywood feel possible in a one-car garage or a driveway. I lay the sheet on foam insulation boards, run the track across, and suddenly a 4-by-8 monster becomes pieces I can carry to a table saw or even finish with a circular saw if that is what I own. Foam boards are the cheap cutting surface that saves your back and your blade, and the same ones last for years of projects.
Without a track saw, a table saw with an outfeed support or a friend on the other end keeps the sheet from tipping mid-cut. Cut the largest pieces first, the tops and sides of each locker, so you are not left with awkward scraps too small for the final panels. Grain direction matters on hardwood plywood, so mark which way the face runs before the first cut so the seams stay consistent across the bank of lockers.
After cutting, 220 grit sandpaper takes off the saw marks and the fuzzy edge left by the blade. A quick pass on the faces and a light touch on the edges is enough prep before the boxes get assembled and the backing goes on.
Recommended Products

Multifunctional Shoe Cubby Bench: Are your shoes are piled up all over your entryway? This entryway cabinet will be the perfect solution for you. This storage bench with 12 compartments is able to store the daily shoes of your whole family. The hooks in 2 rows hold jackets and accessories
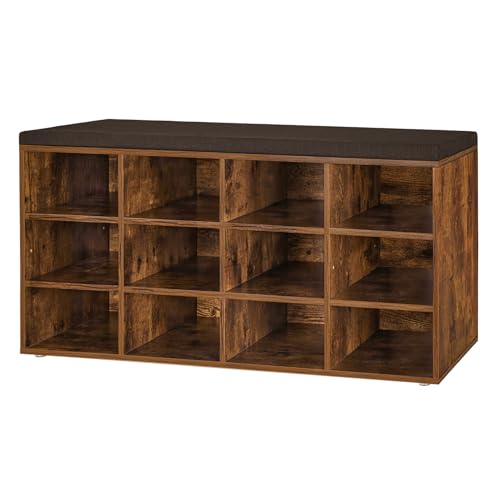
【Multifunctional Shoe Bench】Comes with 12 cubbies to store 10-12 pairs of shoes; a perfect storage solution to keep your room neat and uncluttered; matches perfectly with your furniture; spacious storage space is ideal for entry porch, front door, living room, bedroom, garage closet and more

【Multifunctional】Our shoe bench is equipped with 12 separate compartments, which can not only store 12 pairs of shoes, but you can also place it in other areas of your home as a bookshelf, storage rack, etc. And the top of our shoe rack can bear a weight of 200 pounds. You can rest assured to sit on it and change your shoes.
Assemble the Locker Frames

Pocket hole joinery is what turns a stack of plywood rectangles into square, rigid boxes that survive daily use. A pocket hole is an angled hole that lets you drive a hidden screw into the face of the neighboring board, pulling the joint tight without visible hardware on the outside. The Kreg R3 jig runs about twenty dollars and makes the drilling fast enough that you will not skip it out of impatience.
A pocket hole is an angled hole that allows a hidden screw to secure two pieces of wood together.
That hidden pull matters for cabinetry because the screw sits inside the joint, not through the show face. For each locker, drill pocket holes into the top and bottom panels, then run wood glue along the mating edges and clamp the assembly to the sides. Glue is stronger than screws in wood, so do not wipe away the squeeze-out; let it set. A speed square checked against the inside corners keeps the box square while the screws go in. The 1/4-inch plywood back, glued and brad-nailed on after the box is built, locks the shape in place and gives the locker the look of solid construction from the hallway.
Recommended Products

LASERABLE - Laser safe plywood for vector cutting and engraving. MACHINABLE - Plywood for your CNC router. ¾” Plywood can be cut with any woodworking tool. CUSTOMIZATION -...
Install the Benchtop

A benchtop twelve feet long is common for mudroom lockers, and at that span the plywood needs real support underneath. I cut 3/4-inch cabinet-grade plywood for the surface itself, but the frame beneath does the actual work of holding weight. A laser level saved me here: the floor was neither level nor square, so each vertical support needed a slightly different height to bring the tops flush. I screwed 3/4-by-1.5-inch horizontal braces between supports at the back wall and at both far ends, giving the plywood edges something to land on.
Construction adhesive plus carpentry screws through the plywood into every support made the bench feel like one solid piece of furniture rather than a shelf resting on posts. That rigidity matters because the bench ties the whole unit together structurally: the locker frames stand independently but gain their real stability once the benchtop locks them in place, and the upper cabinets later anchor to that same platform.
Finishing before installation is worth the extra hour. I primed and painted the supports and wall-facing edges while the benchtop was still off, which meant no taping around uprights later. For the surface itself, three coats of water-based polycrylic sealer in satin finish gave the white oak a natural tone without the amber cast that oil-based sealers add. Sanding with 220-grit between coats took ten minutes each time and kept the surface smooth enough that splinters will not be part of this mudroom’s story.
Recommended Products
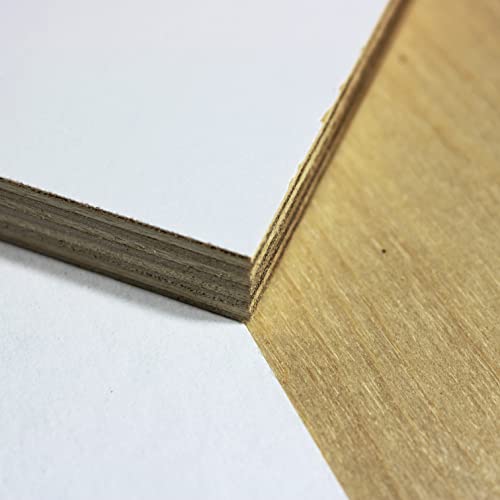
Quality - White Melamine Faced Baltic Birch Plywood is the better material choice over flake and fiberboard plywood cores for longevity and durability.
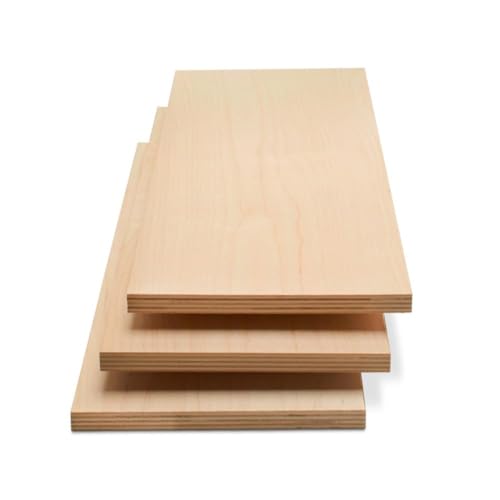
STRONG, DURABLE, HEAVY-DUTY - These craft wood pieces of multi-coated Baltic Birch plywood offer exceptional durability, rigidity, and stability for all your woodworking needs. The surfaces provide excellent holding power for glue and screws and the birch edges create cleaner joinery.

Premium Quality Baltic Birch Plywood: Made from high-quality B/BB grade Baltic Birch, offering superior strength, durability, and a smooth surface for all your crafting needs.
Trim and Finishing

Trim hides every joint that framing leaves behind, and the gap between locker and wall where houses settle. I start with oak trim around the face frame, mitering corners where they meet rather than butting them; the eye catches a blunt seam at ten feet every time. Brad nails hold it while the glue sets, but caulk fills the hairline crack between trim and frame before any paint touches it.
Primer matters more than the topcoat for longevity. Bull’s Eye 1-2-3 Primer in white goes on bare wood or cured filler alike, sealing the grain so it does not telegraph through later. Sand lightly with 220 grit once it flashes off, just enough to knock the fuzz; the tack cloth picks up what the eye misses. Benjamin Moore Advance Paint in Satin is what I would reach for on cabinetry: it levels flat on vertical surfaces where cheaper paints sag, and it cures hard enough that backpack buckles will not mar it. Foam rollers give the smoothest finish, though a brushed-and-rolled job shows its seams in certain light. If you own a sprayer, this is the moment to haul it out.
For the wood-toned interior, three coats of General Finishes High Performance in Satin over 220-grit-sanded hickory survives wet boots without looking like a gym floor. Sand between coats, wipe with a tack cloth, and the built-up film feels like furniture, not plywood. Sherwin Williams Accessible Beige has become the safe choice for the painted shell: warm enough to hide scuffs, neutral enough to outlast your next three color obsessions.
Recommended Products

Spacious Storage: Versatile shelving unit with two open storage areas, four double coat hooks, and four cubbies for jackets, lunchboxes, and school supplies in a playroom, mudroom, or classroom.

Claim Your Boho Vibes: Part of the ELLAN Collection, this shoe bench combines a woven rattan look, rounded corners, and slim pulls for a cozy, relaxed boho feel. Pair it with the matching storage cabinets to create a unified, inviting space

Spacious Storage: Versatile shelving unit with two open storage areas, four double coat hooks, and four cubbies for jackets, lunchboxes, and school supplies in a playroom, mudroom, or classroom
Final Installation

The moment the lockers stop sliding across your floor and start biting into the wall is where this project shifts from furniture to fixture. I like to set the first unit in place, check it with a level, and shim the base until the bubble sits true before driving a single screw. A laser level helps here, especially if your floor has the usual dips and crowns; use it to calculate how much each support leg needs to rise or fall.
Run a straightedge across the front faces of multiple lockers before you anchor anything. The eye catches a 1/16-inch jog faster than you’d expect, and face frames won’t forgive it later. Squeeze units together with a few brad nails between them, then sink 3-inch cabinet screws through the back panels into every stud you can hit.
Walls that bow or lean are standard in older homes, not exceptions. When you find a gap along the side of a run, scribe a filler strip to the wall’s curve with a jigsaw rather than forcing the locker straight and stressing the frame. Cut from 1×3 stock, glue it, and pin it in place. The result looks built-in because it follows the house, not because it fought it.
Recommended Products

Multifunctional Storage: Designed with 4 coat check areas, 8 hooks for coats, shirts, and backpacks, plus 4 storage cubbies for shoes, and a top shelf for display, this coat locker keeps kids’ daily items neat and organized

【Metal Wall Hooks Strong & Sturdy】Keep everything organized & within reach! The heavy duty double prong metal hooks are made of good quality zinc die cast material, the screws are made of iron, it can easily hold up to 40 lbs of weight, very strong sturdy and beautiful, hooks easy storage and long-term use, meet your storage needs.

【Metal Coat Hooks Strong & Sturdy】Keep everything organized & within reach! The heavy duty double prong coat hooks are made of good quality zinc die cast material, the screws are made of iron, it can easily hold up to 40 lbs of weight, it is very strong sturdy and beautiful, coat hooks easy storage and long-term use, meet your storage needs.
Locker Types to Consider

The locker type you choose should match who actually uses the space, not just what looks clean in a photo.
- Open lockers with hooks work best for families with kids old enough to hang their own bags and coats but young enough that latching doors every day is one step too many. The tradeoff is visibility: everyone sees the mess, which is why one source eventually replaced her open bench setup with enclosed units once her family outgrew it.
- Lockers with doors hide the chaos completely. A family of five in the sources built five floor-to-ceiling enclosed lockers after their preschool-age drawer system failed; the kids’ shoe sizes outgrew the cubbies faster than the wood did. Doors win if the mudroom is visible from main living areas or if you just want to throw everything in and close it.
- Lockers with drawers suit smaller items and younger kids who can’t reach high hooks. The same source’s first attempt used drawers for shoes, which worked until winter boots entered the picture. Drawers for mittens, hats, or single pairs of sneakers still make sense; boots need the full height.
- Lockers with upper cabinets add storage for out-of-season gear or supplies you grab monthly, not daily. They pair well with any lower unit.
- Built-in benches with storage underneath combine seating with a place for shoes. One source incorporated a return air vent into her bench design rather than leaving it exposed on the floor, turning a code requirement into usable structure.
Recommended Products

Everyday Shoes in One Place: Holds up to 20 pairs of flats, sandals, slippers, and low-top shoes. Measures 25.25"×17"×12.5" and fits neatly on closet shelves, floors, or a mudroom bench—just make sure your shelf has 13" of clearance. Keeps your daily rotation within easy reach.
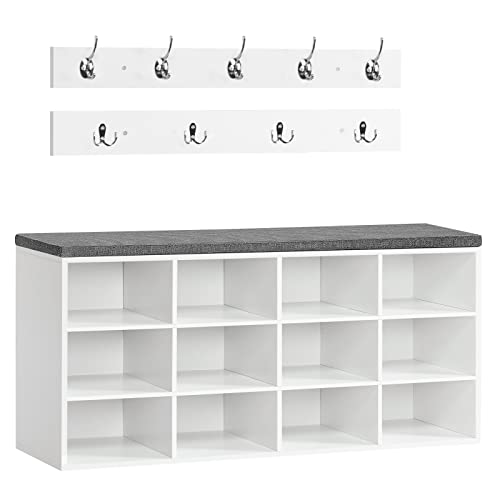
Multifunctional Shoe Cubby Bench: Are your shoes are piled up all over your entryway? This entryway cabinet will be the perfect solution for you. This storage bench with 12 compartments is able to store the daily shoes of your whole family. The hooks in 2 rows hold jackets and accessories

Versatile 7-in-1 Hall Tree: This coat rack includes the coat rack, entryway bench, 5 open storage cabinets,1 chest of drawer, and 2 umbrella holders. LED light strip lighting, 7 coat Storage rack. Provide a comprehensive organization solution for your mudroom or hallway area. With this multifunctional entryway furniture, you can meet various storage needs.Keep your mudroom or hallway tidy.
Tools You Actually Need

A track saw earns its keep on the long rips for locker sides and shelves. The factory edge rides straight against the guide rail, which matters when you are fitting five or six boxes into a wall that was never plumb to begin with. I borrowed one for my first build and bought my own by the third; the cut quality saves that much time on sanding and shimming.
The table saw handles the repeated widths, bench slats and face frames especially. If your space is tight or the budget is tighter, a circular saw with a clamped straightedge gets you there. It just takes longer to set up each cut, and the error stacks.
A pocket hole jig is the one tool I would not try to fake. Face frames join to boxes, boxes join to walls, and the angled screws pull everything tight without clamping acrobatics. The basic version is fine; the upgrade with a clamp built in pays for itself in one Saturday.
For hand tools, a block plane cleans up proud joints faster than sandpaper ever will, and a deadblow mallet seats shelves without denting the face. A drill with a clutch you can set low keeps you from blowing through MDF when you drive the final screws. Borrow the saws if you must, but buy the drill and the jig. You will use them again before the year is out.
Design Tips That Save Regret

A mudroom locker build lives or dies in the planning, and the mistakes hide exactly where most plans look cleanest.
- Work around what you cannot move. HVAC vents, electrical outlets, and access panels for gas shutoffs on the opposite side of the wall all have to be plotted before a single board is cut. One builder discovered their inset wall was not square and the floor was not level only after demo started. Measure twice, then assume something else is off.
- Plan your power before you plan your pretty. Sconces above the lockers or recessed lights above each bay need a source and a switch location locked in early. Running wire after the frames are up turns a weekend project into a drywall repair.
- Ventilation belongs in the doors. Solid slab locker doors trap the smell of damp boots and gym bags. Louvered panels or cutouts with mesh backing cost almost nothing extra and prevent the odor problem most people fix later with baking soda and regret.
- Hooks beat rods for the daily scramble. A double row at staggered heights, one for adult coats and one for kid backpacks, keeps the floor clear without the cost of custom hardware. But if you want one splurge, a single bold hook in a finish that matches nothing else in the room reads as intentional, not mismatched.
- Under-bench baskets hide what open shelving displays. The 29-inch bay width one family chose left room for two baskets per locker; shoes disappeared, and the visual clutter went with them.
Recommended Products

3/4" / 18mm Black Phenolic Baltic Birch Plywood - Enjoy the stacked ply look of Baltic Birch with the added benefit of the phenolic overlay.

WIDELY USE: Our design is high quality & fashionable, This Edge Banding were doing market research which is matching most customer favorites. Melamine Edge banding is a thin material used to seal the exposed sides, such as plywood, particle board or MDF, increasing durability and a new look. It can update your desk, cabinet, DIY and the other furniture, the edging will give a smooth and clean surface to it.

STRONG, DURABLE, HEAVY-DUTY - These craft wood pieces of multi-coated Baltic Birch plywood offer exceptional durability, rigidity, and stability for all your woodworking needs. The surfaces provide excellent holding power for glue and screws and the birch edges create cleaner joinery.
How Deep Should Lockers Be

Bench depth matters more than width in a hallway, where every inch controls whether two people can pass. 15 to 22 inches is the working range that keeps a locker useful without turning the mudroom into a bottleneck. I settled on 22.5 inches for my own build after dry-fitting a scrap piece and realizing it was about as far as I could comfortably reach past a winter coat to grab what I’d stashed behind it.
Anything narrower than 15 inches and a hanging parka presses against the doors; anything past 22 inches and you’re fishing in dim space you can’t see into. The benchtop should match the locker depth so the vertical sides land flush, though some builds let the upper cubbies sit back even if the bench runs full depth. That choice came up during my planning when I considered letting the top boxes protrude, but keeping everything at one plane looked cleaner against the wall and cost me nothing extra in material.
Frequently Asked Questions
What materials do I need to build mudroom lockers?
You will need 3/4-inch plywood, MDF, or melamine for the boxes, plus wood glue, pocket-hole screws, brad nails, and primer and paint or stain for finishing. Plywood handles moisture best, MDF gives the smoothest painted surface at about half the cost, and melamine saves the most money if you can find two-sided stock. The article also covers how single-sided melamine forces a more complex build where you sandwich finished faces between units.
How deep should mudroom lockers be?
Lockers should be between 15 and 22 inches deep. The author used 22.5 inches, which is about as far as you can comfortably reach past a winter coat to grab items stashed in back. Anything narrower than 15 inches makes hanging coats press against doors; anything past 22 inches leaves you fishing in dim space you cannot see into.
How do I finish the lockers?
Sand with 220-grit paper, apply Bull’s Eye 1-2-3 Primer to seal the grain, then sand lightly again before painting with Benjamin Moore Advance Paint in Satin or staining with a durable topcoat like General Finishes High Performance. Caulk hairline cracks between trim and frame before any paint goes on, and always sand between coats of clear finish.
What tools do I need to build mudroom lockers?
A track saw or circular saw with straightedge for breaking down sheets, a table saw for repeated widths, a pocket hole jig for joinery, a drill with adjustable clutch, and hand tools including a block plane and deadblow mallet. The pocket hole jig is the one tool the author would not try to fake; it pulls face frames and boxes tight without clamping acrobatics.